“If you can’t be in awe of Mother Nature, there’s something wrong with you.” –Alex Trebek
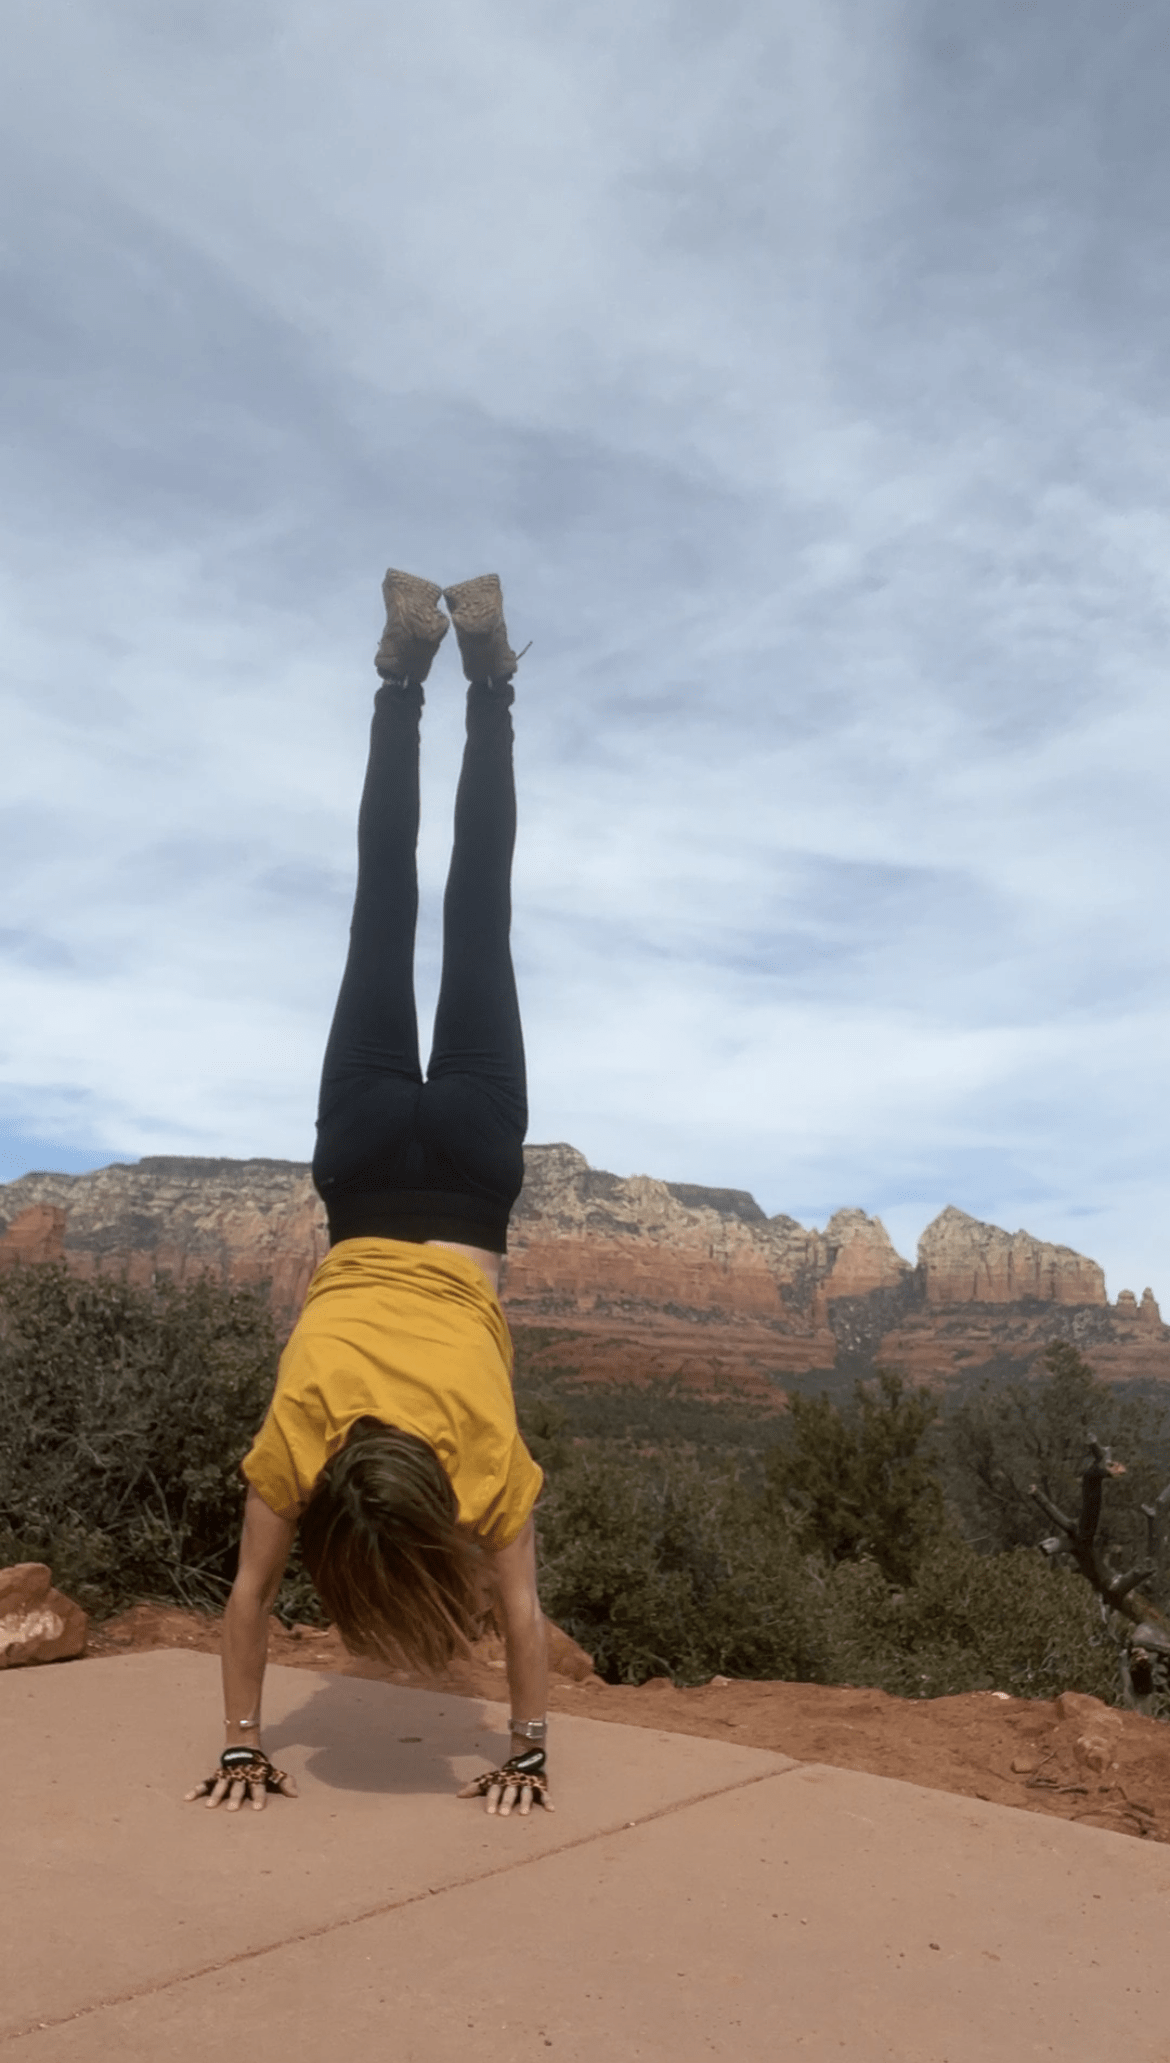
There probably is a little something wrong with me that I generally don’t enjoy being outside. Put me in front of some truly awe-inspiring scenery, however, and I’m hiking, climbing, and handstanding — all in the great outdoors. Such was the case during my recent travels to Sedona, AZ where I found myself face to face with Mother Nature, literally oohhing and aahhing at the breathtaking sights, every time I turned around.
Sedona has numerous trails and climbing opportunities where you can walk/hike/climb/handstand as little or as much as you like. My husband and I picked two main destinations during our visit — Devil’s Bridge and Soldiers Cave (both considered moderate/difficult trails with lots of inclines and climbing over rocks) — and walked well over our 10,000 daily step goal for each hike.
 We started with Devil’s Bridge. Devil’s Bridge is the largest sandstone arch in Sedona, and the hike to get to it is close to two miles roundtrip. (fs.usda.gov) I’m not lying when I say that I never got tired of the scenery along the trail, and every few minutes heard myself saying, “This is a good place for a handstand.” (Pretty sure I kicked up 20 times on the way up.) The last leg of the climb to Devil’s Bridge gets a little clogged with hikers as the trail narrows in several spots (meaning you sometimes have to take turns going up or down), but it’s amazing how even without guides providing direction, everyone is polite and patient.
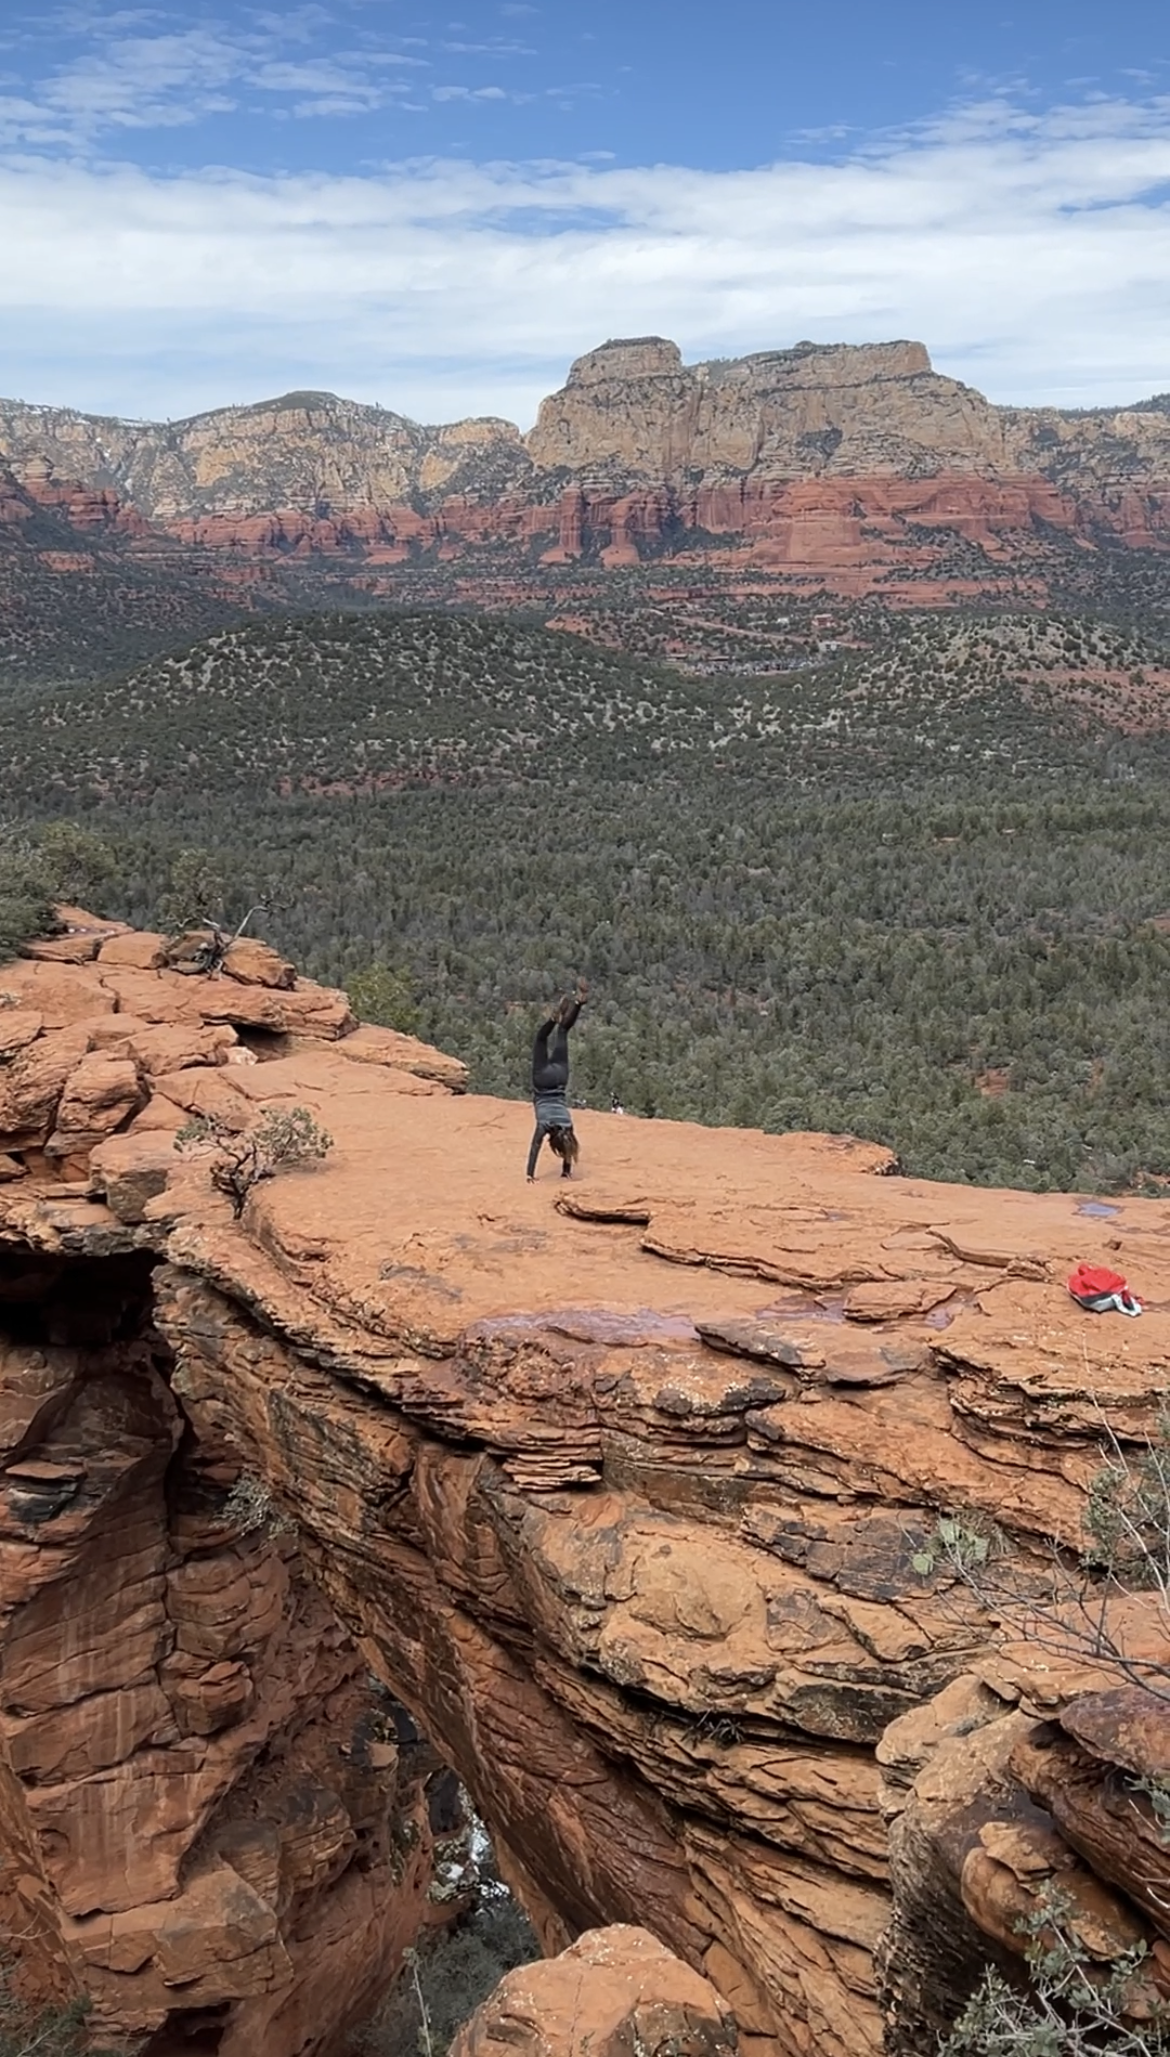
Keep in mind that every hiker who makes it to the bridge wants to have their picture taken on it, so you do have to wait your turn, but it’s worth it! The Bridge is wider than it looks — I felt confident kicking up into a handstand, knowing that even if I “fell” out, I wouldn’t fall off. I was actually more concerned that it would take 10 attempts before I held a handstand, and everyone waiting for a photo would be more than a little irritated at the delay. Luckily, it only took two tries. And to my surprise, everyone cheered when I did it! Great photo opportunity — even if you’re not doing a handstand.
 The next day we tackled Soldiers Pass & Soldiers Cave. It took about four hours to make it there and back — taking into account that we stopped numerous times for handstand photos along our route. There is an obvious trail, however, it’s not clearly marked as to which direction to make it to the cave. We asked several people heading in the opposite direction for help, before passing a group who said they had actually made it to the cave, and that we should keep hanging a right whenever the trail forks.
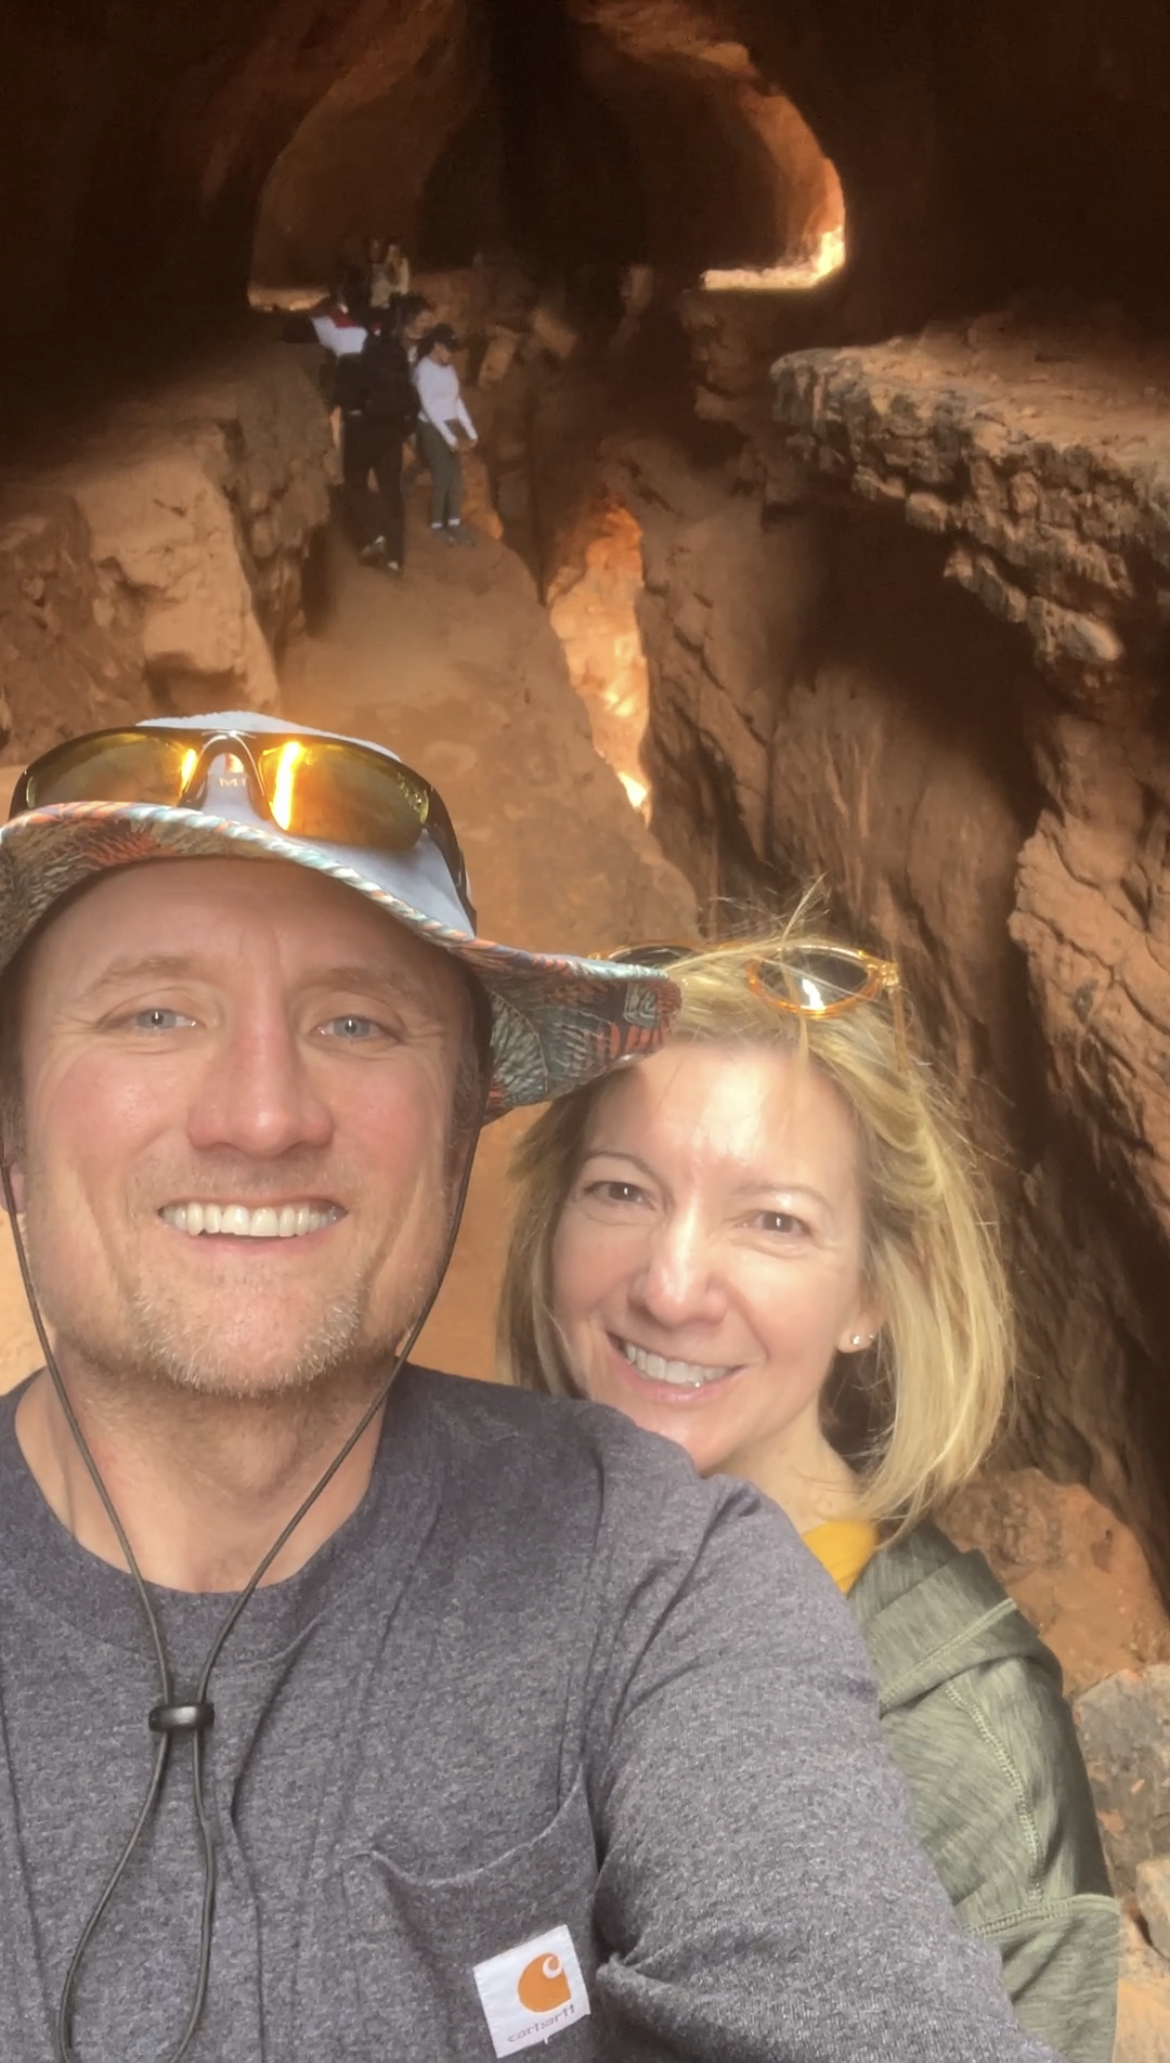
When we finally hoisted ourselves inside the cave (note: it’s climbing, not walking, and those last few steps were precarious at best), I was filled with awe — and then fright! It truly is a beautiful sight and worth the hike, BUT the ledges were narrow, and there’s really no cave floor — just a deep crevasse that I’m pretty sure opens up into nothing but thin air. All thoughts of doing any kind of yoga pose — including standing without desperately clinging to my husband’s arm — were instantly squelched. We took a few selfies with me somehow managing to grit my teeth into a smile that didn’t resemble an obvious sign of sheer terror, and then we left. Thankfully, the climb down was much less harrowing.
Here are a few suggestions for hiking these trails:
- Wear good, supportive hiking shoes. I noticed people wearing regular sneakers (and even Crocs!) who were slipping frequently and turning ankles.
- Take water & light snacks. We were there when it was cooler, but still stopped several times for water breaks during steep inclines. Since it takes a few hours for each trail, we were pretty hungry after our hikes.
- Use the shuttle service. The parking lots are very small at all the trailheads, meaning you have to park down the road and then make a long walk before beginning your intended hike. Sedona has a free shuttle service that drops you off and picks you up from designated parking lots and allows you to save your steps for the actual hike.
- Wear sunscreen — no matter what the temperature! Not a lot of shade on these trails and the sun is intense.
Thank you for reading what I wrote! Please subscribe to my blog to receive updates on future posts. Also follow me on social and subscribe to my YouTube channel. Links on my blog.